大量对象的优化
本文是关于 three.js 系列文章的一部分. 第一篇文章是 three.js 基础. 如果你还没看过而且对three.js 还不熟悉,那应该从那里开始.
three.js的优化有很多种方式. 常见的一种叫做合并几何体. 每一个你创建的Mesh代表一个(或多个)请求系统渲染的命令. 即便是画出来的结果一样, 画两个几何体总是比画一个要费时费力. 所以最好的方式就是将这些mesh合并起来.
让我们来展示一个应用这种优化方式的优秀范例. 让我们来重新创建一个WebGL Globe.
第一件事是获取一些数据. WebGL Globe说他们的数据是来自SEDAC. 点开这个网站我们可以看到网格化的人口统计学数据. 我这里下载的是以60分为解析度的数据. 打开可以看到
 ncols         360
 nrows         145
 xllcorner     -180
 yllcorner     -60
 cellsize      0.99999999999994
 NODATA_value  -9999
 -9999 -9999 -9999 -9999 -9999 -9999 -9999 -9999 -9999 -9999 -9999 -9999 ...
 -9999 -9999 -9999 -9999 -9999 -9999 -9999 -9999 -9999 -9999 -9999 -9999 ...
 -9999 -9999 -9999 -9999 -9999 -9999 -9999 -9999 -9999 -9999 -9999 -9999 ...
 -9999 -9999 -9999 -9999 -9999 -9999 -9999 -9999 -9999 -9999 -9999 -9999 ...
 -9999 -9999 -9999 -9999 -9999 -9999 -9999 -9999 -9999 -9999 -9999 -9999 ...
 -9999 -9999 -9999 -9999 -9999 -9999 -9999 -9999 -9999 -9999 -9999 -9999 ...
 -9999 -9999 -9999 -9999 -9999 -9999 -9999 -9999 -9999 -9999 -9999 -9999 ...
 -9999 -9999 -9999 -9999 -9999 -9999 -9999 -9999 -9999 -9999 -9999 -9999 ...
 -9999 -9999 -9999 -9999 -9999 -9999 -9999 -9999 -9999 -9999 -9999 -9999 ...
 -9999 -9999 -9999 -9999 -9999 -9999 -9999 -9999 -9999 -9999 -9999 -9999 ...
 -9999 -9999 -9999 -9999 -9999 -9999 -9999 -9999 -9999 -9999 -9999 -9999 ...
 -9999 -9999 -9999 -9999 -9999 -9999 -9999 -9999 -9999 -9999 -9999 -9999 ...
 -9999 -9999 -9999 -9999 -9999 -9999 -9999 -9999 -9999 -9999 -9999 -9999 ...
 9.241768 8.790958 2.095345 -9999 0.05114867 -9999 -9999 -9999 -9999 -999...
 1.287993 0.4395509 -9999 -9999 -9999 -9999 -9999 -9999 -9999 -9999 -9999...
 -9999 -9999 -9999 -9999 -9999 -9999 -9999 -9999 -9999 -9999 -9999 -9999 ...
上面的数据首先是几行键值对, 然后是网格化的数据.
为了保证我们的理解没有偏差, 我们先做个2D图
先用这么几行代码载入数据
async function loadFile(url) {
  const res = await fetch(url);
  return res.text();
}
上面的代码返回了一个带有指定url下文件内容的Promise
然后写几行数据来解析文件内容
function parseData(text) {
  const data = [];
  const settings = {data};
  let max;
  let min;
  // 对每一行进行切分
  text.split('\n').forEach((line) => {
    // split the line by whitespace
    const parts = line.trim().split(/\s+/);
    if (parts.length === 2) {
      // 长度为2的必定是键值对
      settings[parts[0]] = parseFloat(parts[1]);
    } else if (parts.length > 2) {
      // 长度超过2的肯定是网格数据
      const values = parts.map((v) => {
        const value = parseFloat(v);
        if (value === settings.NODATA_value) {
          return undefined;
        }
        max = Math.max(max === undefined ? value : max, value);
        min = Math.min(min === undefined ? value : min, value);
        return value;
      });
      data.push(values);
    }
  });
  return Object.assign(settings, {min, max});
}
上面的代码返回了一个有着全部键值对的对象, 然后data属性是网格化的数据. min 和 max 中是 data 中的极值
下面是绘图函数
function drawData(file) {
  const {min, max, data} = file;
  const range = max - min;
  const ctx = document.querySelector('canvas').getContext('2d');
  // 新建一个和网格数据尺寸相等的canvas
  ctx.canvas.width = ncols;
  ctx.canvas.height = nrows;
  // 但是以两倍大小绘制防止太小
  ctx.canvas.style.width = px(ncols * 2);
  ctx.canvas.style.height = px(nrows * 2);
  // 用黑灰色填充
  ctx.fillStyle = '#444';
  ctx.fillRect(0, 0, ctx.canvas.width, ctx.canvas.height);
  // 绘制数据点
  data.forEach((row, latNdx) => {
    row.forEach((value, lonNdx) => {
      if (value === undefined) {
        return;
      }
      const amount = (value - min) / range;
      const hue = 1;
      const saturation = 1;
      const lightness = amount;
      ctx.fillStyle = hsl(hue, saturation, lightness);
      ctx.fillRect(lonNdx, latNdx, 1, 1);
    });
  });
}

function px(v) {
  return `${v | 0}px`;
}

function hsl(h, s, l) {
  return `hsl(${h * 360 | 0},${s * 100 | 0}%,${l * 100 | 0}%)`;
}
然后把上面的代码都合并起来
loadFile('resources/data/gpw/gpw_v4_basic_demographic_characteristics_rev10_a000_014mt_2010_cntm_1_deg.asc')
  .then(parseData)
  .then(drawData);
得到了下面的结果
嗯... 看起来没什么问题
试试3D效果. 从按需渲染出发, 我们让每一个数据都画成一个box
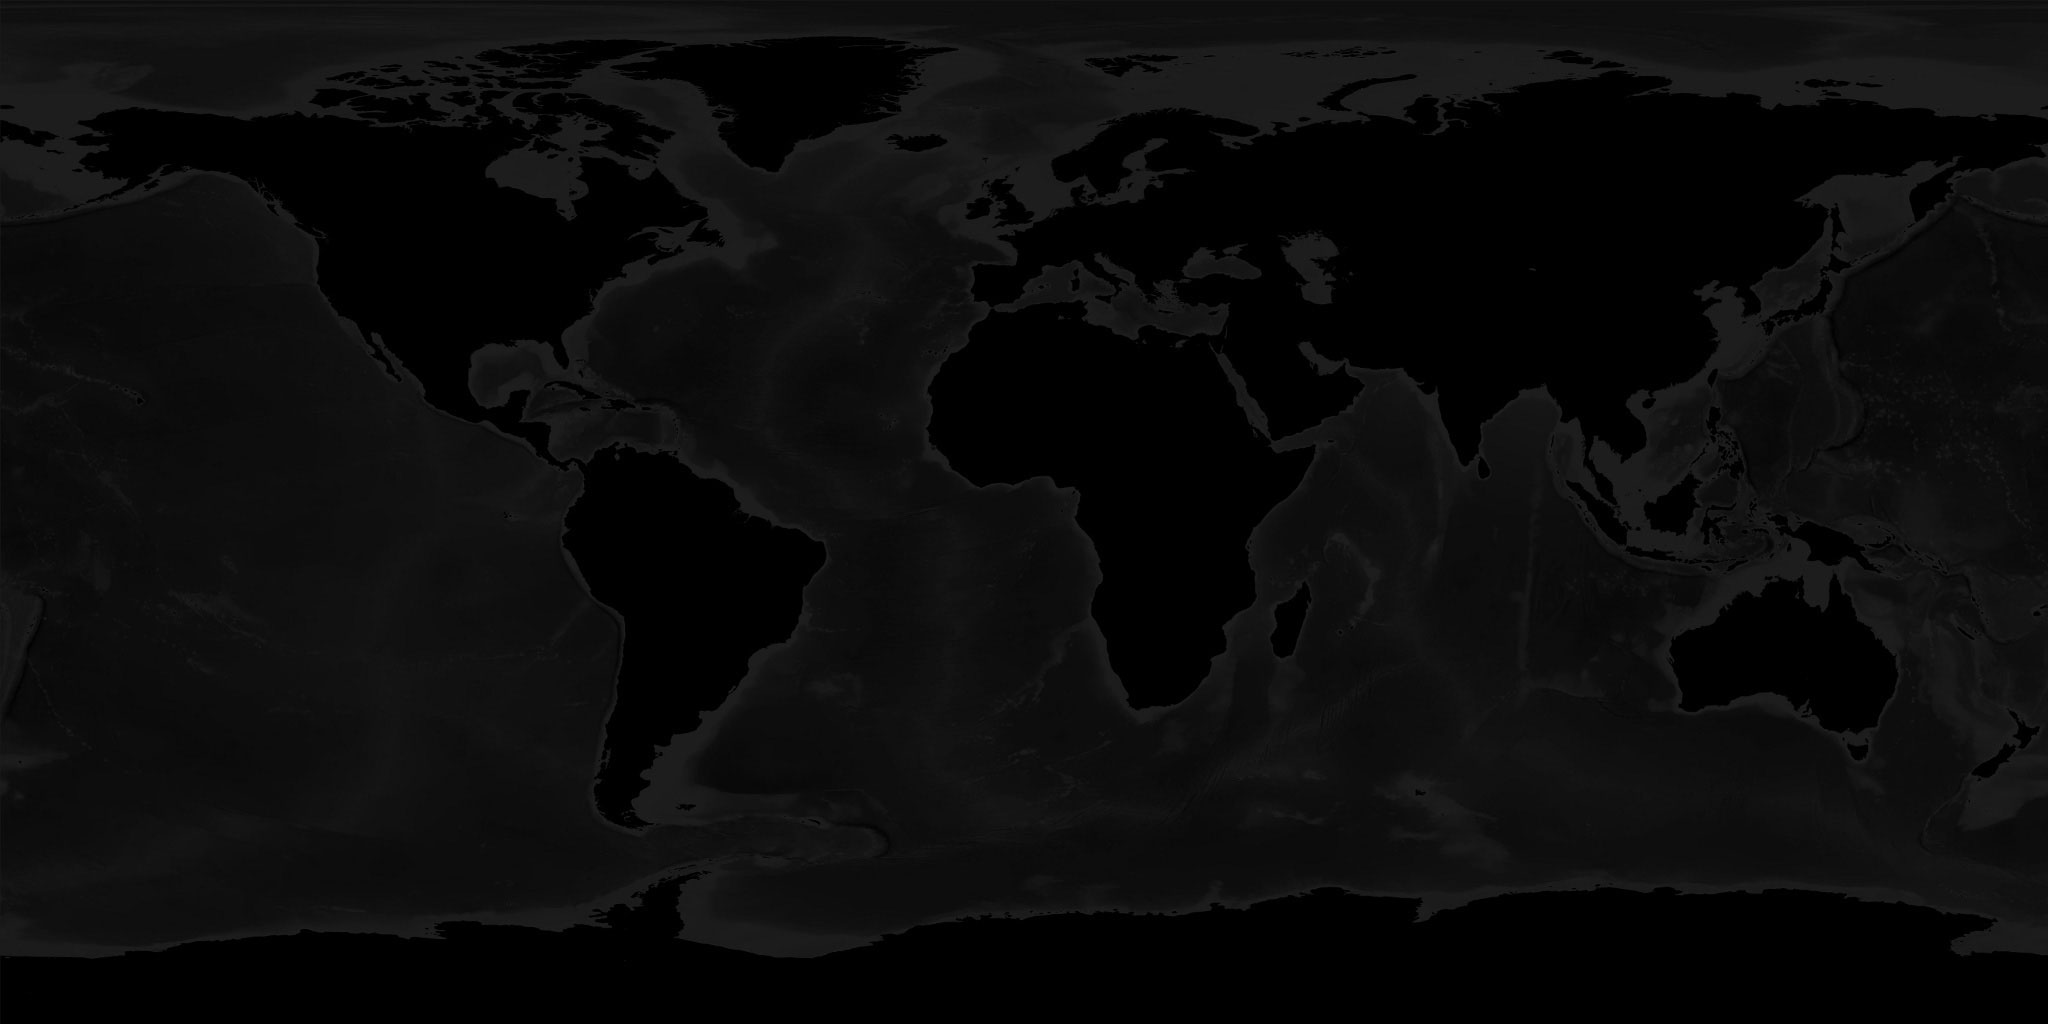
首先先画一个地球, 这是sphere表面的贴图

用这些代码生成地球
{
  const loader = new THREE.TextureLoader();
  const texture = loader.load('resources/images/world.jpg', render);
  const geometry = new THREE.SphereGeometry(1, 64, 32);
  const material = new THREE.MeshBasicMaterial({map: texture});
  scene.add(new THREE.Mesh(geometry, material));
}
看过来, 当材质加载完成后才调用render方法. 我们这么做是因为使用了按需渲染中的方法, 而不是连续渲染. 这样我们仅仅需要在材质加载后渲染一遍就好.
然后我们需要对代码做一些改动, 每个数据都画一个点, 而不是每个
然后我们需要修改上面每个数据点画一个点的代码, 改为每个数据点画一个框
function addBoxes(file) {
  const {min, max, data} = file;
  const range = max - min;

  // 新建一个box geometry
  const boxWidth = 1;
  const boxHeight = 1;
  const boxDepth = 1;
  const geometry = new THREE.BoxGeometry(boxWidth, boxHeight, boxDepth);
  // 沿着z轴缩放
  geometry.applyMatrix4(new THREE.Matrix4().makeTranslation(0, 0, 0.5));

  // 位置辅助器可以方便地在球面上定位
  // 经度辅助器可以在XZ平面的法向旋转
  const lonHelper = new THREE.Object3D();
  scene.add(lonHelper);
  // 纬度辅助器可以在XZ平面旋转
  const latHelper = new THREE.Object3D();
  lonHelper.add(latHelper);
  // 组合起来得到的位置辅助器可以在球面上定位
  const positionHelper = new THREE.Object3D();
  positionHelper.position.z = 1;
  latHelper.add(positionHelper);

  const lonFudge = Math.PI * .5;
  const latFudge = Math.PI * -0.135;
  data.forEach((row, latNdx) => {
    row.forEach((value, lonNdx) => {
      if (value === undefined) {
        return;
      }
      const amount = (value - min) / range;
      const material = new THREE.MeshBasicMaterial();
      const hue = THREE.MathUtils.lerp(0.7, 0.3, amount);
      const saturation = 1;
      const lightness = THREE.MathUtils.lerp(0.1, 1.0, amount);
      material.color.setHSL(hue, saturation, lightness);
      const mesh = new THREE.Mesh(geometry, material);
      scene.add(mesh);

      // 调整辅助器使其指向经纬度
      lonHelper.rotation.y = THREE.MathUtils.degToRad(lonNdx + file.xllcorner) + lonFudge;
      latHelper.rotation.x = THREE.MathUtils.degToRad(latNdx + file.yllcorner) + latFudge;

      // 使用world matrix来操作辅助器
      positionHelper.updateWorldMatrix(true, false);
      mesh.applyMatrix4(positionHelper.matrixWorld);

      mesh.scale.set(0.005, 0.005, THREE.MathUtils.lerp(0.01, 0.5, amount));
    });
  });
}
上面的代码直截了当得从2D测试方法中改动过来
我们新建一个长方体, 然后沿着Z轴缩放. 如果我们不这么做, 它就会以中心为参照放大, 使得根部不在球面上. 我们这么做之后, 就可以达到从球面上长出来的效果.
当然, 我们可以像场景图一章中讲得, 通过添加到一个父对象来解决上面的问题. 但是要考虑到我们体系几何体非常得多, 所以会大大拖累运行的速度.
上面的位置辅助器positionHelper是由lonHelper, latHelper逐级组合而来. 这个小东西可以帮助我们计算球面上的经纬度来放置几何体.
上面的绿条条代表lonHelper, 在赤道上以经度的变化旋转. The
蓝条条代表 latHelper, 在赤道上下以纬度的变化旋转. 红球球 就是位置辅助器实际指向的位置.
我们倒是可以计算所有的球面位置, 但是需要涉及到很多数学和库的调用, 所以就...可以但没必要.
每一个数据我们都创建了一个MeshBasicMaterial和一个Mesh, 然后我们从位置辅助器中取得world matrix并应用到新的Mesh上. 最后, 我们在它的新位置上缩放.
上面, 我们给每一个新box都创建了一个位置辅助器, 但是这将会使运行速度大大下降.
这最多有360x145=52000个盒子需要被创建. 有些点数据被标为 “NO_DATA” 所以实际的盒子数大概是19000左右. 如果我们每个盒子加上三个辅助器, 全局就大概80000个节点. 使用一组辅助器来调整mesh的位置我们可以节约60000个节点的计算.
注意lonFudge是π/2也就是四分之一圈, 也就是说在在一周上是以不同的偏移开始. 也能说得通. 但是我不知道为什么latFudge要乘以个 π * -0.135, 似乎就是一个能让盒子和材质对齐的数.
最后一步是调用loader
loadFile('resources/data/gpw/gpw_v4_basic_demographic_characteristics_rev10_a000_014mt_2010_cntm_1_deg.asc')
  .then(parseData)
-  .then(drawData)
+  .then(addBoxes)
+  .then(render);
当数据载入和解析完成, 我们再进行渲染
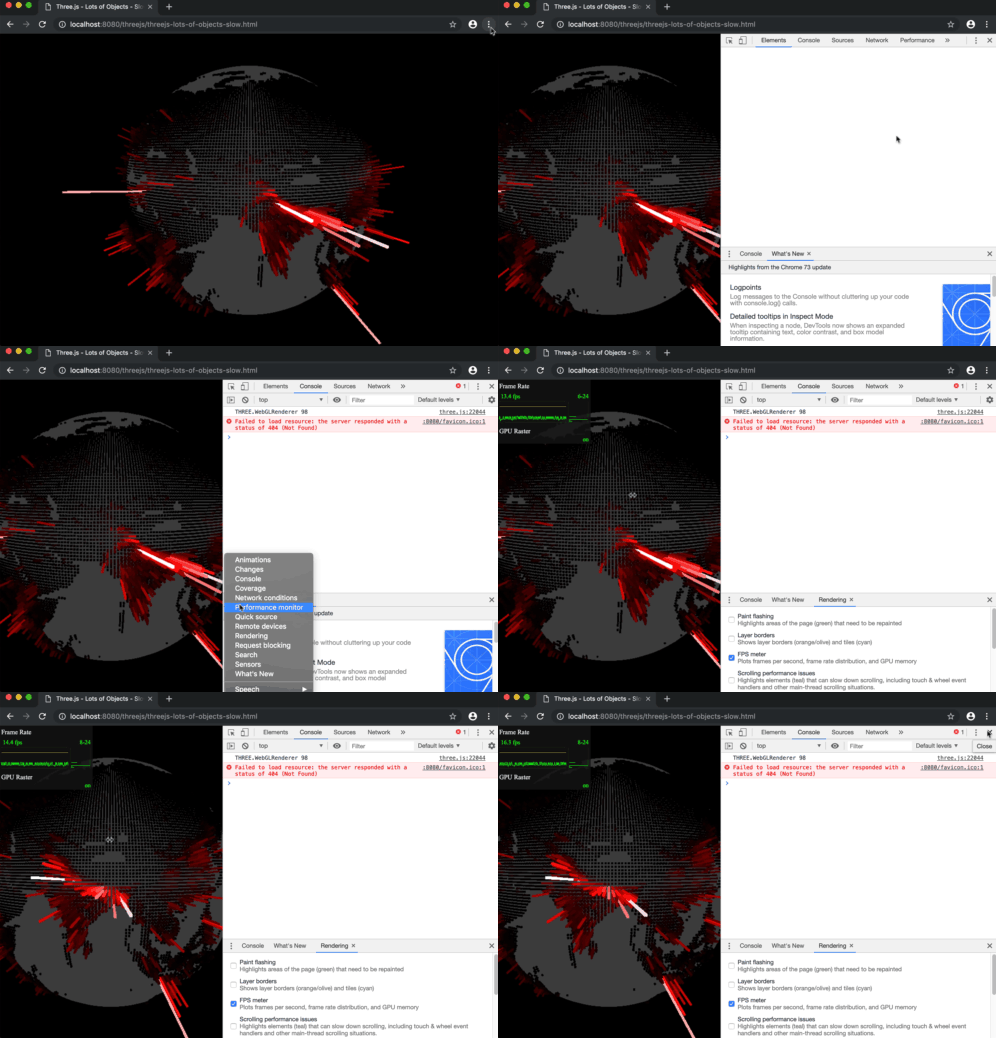
拖拽一下这个球你就会发现很卡
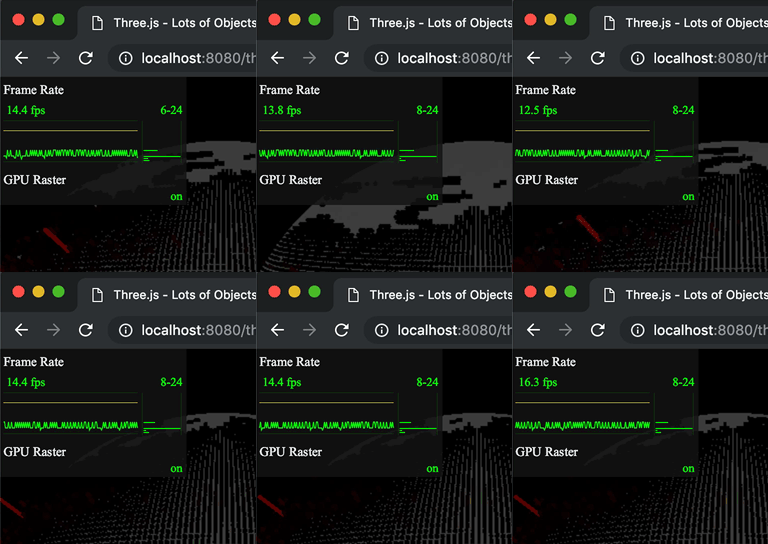
我们在开启调试工具中提到过怎么打开帧率监视器

在我机器上大概是20帧每秒

这不太行, 我寻思很多人机器上会更慢. 我们得想办法优化它一下子.
此时此景, 我们可以通过合并所有的盒子到一个geometry来实现, 一下子就可以省下18999个操作
function addBoxes(file) {
  const {min, max, data} = file;
  const range = max - min;

-  // 新建一个几何体
-  const boxWidth = 1;
-  const boxHeight = 1;
-  const boxDepth = 1;
-  const geometry = new THREE.BoxGeometry(boxWidth, boxHeight, boxDepth);
-  // 沿着Z轴缩放
-  geometry.applyMatrix4(new THREE.Matrix4().makeTranslation(0, 0, 0.5));

  // 位置辅助器可以方便地在球面上定位
  // 经度辅助器可以在XZ平面的法向旋转
  const lonHelper = new THREE.Object3D();
  scene.add(lonHelper);
  // 纬度辅助器可以在XZ平面旋转
  const latHelper = new THREE.Object3D();
  lonHelper.add(latHelper);
  // 组合起来得到的位置辅助器可以在球面上定位
  const positionHelper = new THREE.Object3D();
  positionHelper.position.z = 1;
  latHelper.add(positionHelper);
+  // 用来定位盒子的中心, 以便接下来沿着Z轴缩放
+  const originHelper = new THREE.Object3D();
+  originHelper.position.z = 0.5;
+  positionHelper.add(originHelper);

  const lonFudge = Math.PI * .5;
  const latFudge = Math.PI * -0.135;
+  const geometries = [];
  data.forEach((row, latNdx) => {
    row.forEach((value, lonNdx) => {
      if (value === undefined) {
        return;
      }
      const amount = (value - min) / range;

-      const material = new THREE.MeshBasicMaterial();
-      const hue = THREE.MathUtils.lerp(0.7, 0.3, amount);
-      const saturation = 1;
-      const lightness = THREE.MathUtils.lerp(0.1, 1.0, amount);
-      material.color.setHSL(hue, saturation, lightness);
-      const mesh = new THREE.Mesh(geometry, material);
-      scene.add(mesh);

+      const boxWidth = 1;
+      const boxHeight = 1;
+      const boxDepth = 1;
+      const geometry = new THREE.BoxGeometry(boxWidth, boxHeight, boxDepth);

      // 调整位置辅助器的指向
      lonHelper.rotation.y = THREE.MathUtils.degToRad(lonNdx + file.xllcorner) + lonFudge;
      latHelper.rotation.x = THREE.MathUtils.degToRad(latNdx + file.yllcorner) + latFudge;

      // 使用world matrix来操作辅助器
      positionHelper.updateWorldMatrix(true, false);
      mesh.applyMatrix4(positionHelper.matrixWorld);
      mesh.scale.set(0.005, 0.005, THREE.MathUtils.lerp(0.01, 0.5, amount));

+      // 使用位置辅助器和world matrix 来定位
+      positionHelper.scale.set(0.005, 0.005, THREE.MathUtils.lerp(0.01, 0.5, amount));
+      originHelper.updateWorldMatrix(true, false);
+      geometry.applyMatrix4(originHelper.matrixWorld);
+
+      geometries.push(geometry);
    });
  });

+  const mergedGeometry = BufferGeometryUtils.mergeGeometries(
+      geometries, false);
+  const material = new THREE.MeshBasicMaterial({color:'red'});
+  const mesh = new THREE.Mesh(mergedGeometry, material);
+  scene.add(mesh);

}
我们移除了之前用来改变盒子几何中心的代码, 取而代之的是originHelper. 这次我们要为每个长方体创建新的几何体, 因为我们要使用“applyMatrix”来移动每个长方体几何体的顶点, 所以我们最好只移动一次, 而不是两次.
最后, 我们将所有几何体的数组传入BufferGeometryUtils.mergeGeometries, 这个方法将会将其合并到一个mesh中
别忘了引入BufferGeometryUtils
import * as BufferGeometryUtils from 'three/addons/utils/BufferGeometryUtils.js';
现在, 至少在我的机器上, 可以跑到60帧每秒了
虽然可以了, 但是我们这是一整个mesh, 所以我们只能应用一个材质, 意味着我们只能有一种颜色的盒子. 我们之前可是能有不同颜色的盒子. 我们可以通过使用顶点着色法来解决.
顶点着色向每个顶点添加一种颜色. 通过设定每个盒子的每个顶点的所有颜色来指定每个盒子的颜色.
+const color = new THREE.Color();

const lonFudge = Math.PI * .5;
const latFudge = Math.PI * -0.135;
const geometries = [];
data.forEach((row, latNdx) => {
  row.forEach((value, lonNdx) => {
    if (value === undefined) {
      return;
    }
    const amount = (value - min) / range;

    const boxWidth = 1;
    const boxHeight = 1;
    const boxDepth = 1;
    const geometry = new THREE.BoxGeometry(boxWidth, boxHeight, boxDepth);

    lonHelper.rotation.y = THREE.MathUtils.degToRad(lonNdx + file.xllcorner) + lonFudge;
    latHelper.rotation.x = THREE.MathUtils.degToRad(latNdx + file.yllcorner) + latFudge;

    positionHelper.scale.set(0.005, 0.005, THREE.MathUtils.lerp(0.01, 0.5, amount));
    originHelper.updateWorldMatrix(true, false);
    geometry.applyMatrix4(originHelper.matrixWorld);

+    // 计算颜色
+    const hue = THREE.MathUtils.lerp(0.7, 0.3, amount);
+    const saturation = 1;
+    const lightness = THREE.MathUtils.lerp(0.4, 1.0, amount);
+    color.setHSL(hue, saturation, lightness);
+    // 以0到255之间的值数组形式获取颜色
+    const rgb = color.toArray().map(v => v * 255);
+
+    // 创建一个数组来存储每个顶点的颜色
+    const numVerts = geometry.getAttribute('position').count;
+    const itemSize = 3;  // r, g, b
+    const colors = new Uint8Array(itemSize * numVerts);
+
+    // 将颜色复制到每个顶点的颜色数组中
+    colors.forEach((v, ndx) => {
+      colors[ndx] = rgb[ndx % 3];
+    });
+
+    const normalized = true;
+    const colorAttrib = new THREE.BufferAttribute(colors, itemSize, normalized);
+    geometry.setAttribute('color', colorAttrib);

    geometries.push(geometry);
  });
});
上面的代码中, 我们查找几何体中的position属性来获取所需的数量和顶点. 然后创建一个Uint8Array来输入颜色. 接下来通过调用geometry.setAttribute来将其设定为一个属性.
最后告诉three.js使用顶点上色.
const mergedGeometry = BufferGeometryUtils.mergeGeometries(
    geometries, false);
-const material = new THREE.MeshBasicMaterial({color:'red'});
+const material = new THREE.MeshBasicMaterial({
+  vertexColors: true,
+});
const mesh = new THREE.Mesh(mergedGeometry, material);
scene.add(mesh);
我们的彩色世界回来啦!
合并几何体是一个常见的优化手段. 比如, 可以将一百多棵树合并成一个几何体, 一堆石头合并成一块石头, 零零碎碎的栅栏合并成一个栅栏的mesh. 另一个例子是Minecraft并不是一个一个方块去绘制, 而是创建一组合并了的方块, 当然之前选择性地移除那些看不见的.
这么做带来的问题是, 合并起来简单, 分离难. 接下来我们再引入一种优化方案 优化大量动画对象.